
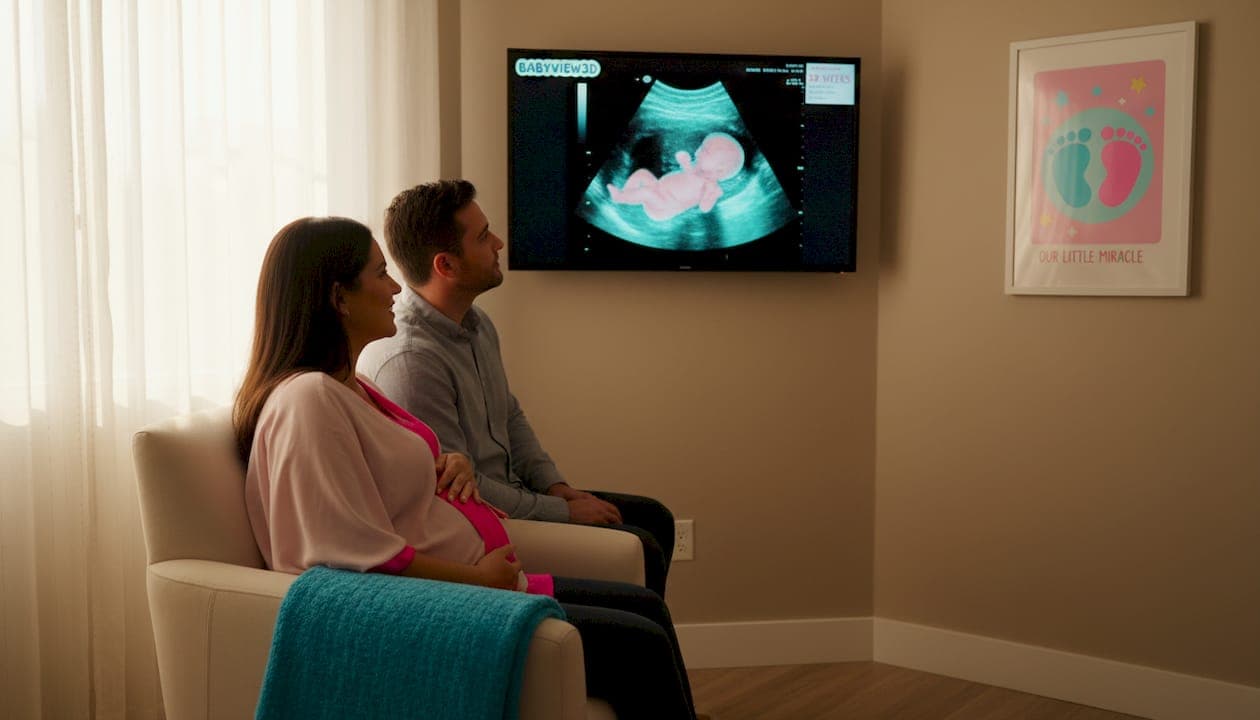
You have seen the grainy black-and-white scans, but the first time you look at a lifelike image of your baby's face before birth, something shifts. The step by step 3D ultrasound process is not complicated, but walking in unprepared means missed opportunities for clear images, a rushed session, or a disappointing result that could have been avoided entirely. This guide breaks down exactly what happens before, during, and after your session so you can walk in confident, prepared, and ready to meet your baby in a whole new way.
Table of Contents
- What you need before the 3D ultrasound: preparation essentials
- Step-by-step 3D ultrasound procedure: what to expect
- Factors affecting 3D ultrasound image quality and tips to optimize your scan
- Common mistakes and troubleshooting during a 3D ultrasound session
- What results to expect and how to use your 3D ultrasound images
- Why timing and patience are the keys to a meaningful 3D ultrasound experience
- Explore BabyView3D's professional 3D ultrasound services for your pregnancy journey
- Frequently asked questions
Key Takeaways
| Point | Details |
|---|---|
| Ideal timing | Schedule 3D ultrasounds between 26 and 32 weeks for the clearest, most detailed baby images. |
| Proper preparation | Hydrate well, avoid lotions, and wear loose clothing to optimize ultrasound quality and comfort. |
| Procedure steps | The session involves gel application, transducer scanning, and capturing multiple 2D slices for 3D images. |
| Factors affecting quality | Baby’s position, placenta placement, and amniotic fluid levels significantly influence image clarity. |
| Emotional benefits | 3D ultrasounds enhance parental bonding by offering realistic views of the baby before birth. |
What you need before the 3D ultrasound: preparation essentials
The biggest factor separating a sharp, detailed 3D image from a blurry, frustrating one? Preparation. Most parents focus on showing up to the appointment and forget that what you do the day of, even the hour before, matters more than they realize.
Here is what to do and what to skip before your session:
- Hydrate early. According to Harvard Health, ideal preparation includes drinking 4-6 glasses of water about an hour before the scan, especially if you are in the early second trimester when a fuller bladder helps with visualization.
- Wear the right clothes. A loose two-piece outfit, like a stretchy waistband top and elastic pants, gives the sonographer easy access to your abdomen without the awkward struggle of a one-piece dress. This saves time and protects your session quality.
- Arrive 10-15 minutes early. Check-in, paperwork, and a few minutes to relax your body before the scan begins make a real difference in how the session flows.
- Skip the lotion and oils on your belly. This one surprises most parents. Harvard Health notes that lotions or oils on the abdomen can interfere with sound wave transmission and reduce image quality in a significant number of cases. Clean, dry skin gives the gel direct contact with your skin for the clearest possible signal.
- Bring a dark towel or old shirt. Ultrasound gel stains light fabric. It is a small detail that many parents wish someone had told them beforehand.
As part of your expectant parents ultrasound preparation, getting familiar with these steps in advance removes the guesswork from your session day.
| Preparation step | Timing | Why it matters |
|---|---|---|
| Drink 4-6 glasses of water | 1 hour before | Fills bladder for better early-scan visualization |
| Wear loose two-piece clothing | Day of session | Allows fast, comfortable abdominal access |
| Arrive early | 10-15 min before | Reduces stress and allows proper check-in |
| Avoid lotion and oils | Day of session | Prevents sound wave interference |
| Bring a dark towel | During session | Protects clothing from gel stains |
Pro Tip: Eat a light snack about 30 minutes before your 3D ultrasound. A small amount of sugar from orange juice or fruit can encourage your baby to become more active, which helps the sonographer capture different facial angles faster.
With preparation complete, let's explore the actual step-by-step process during your 3D ultrasound session.
Step-by-step 3D ultrasound procedure: what to expect
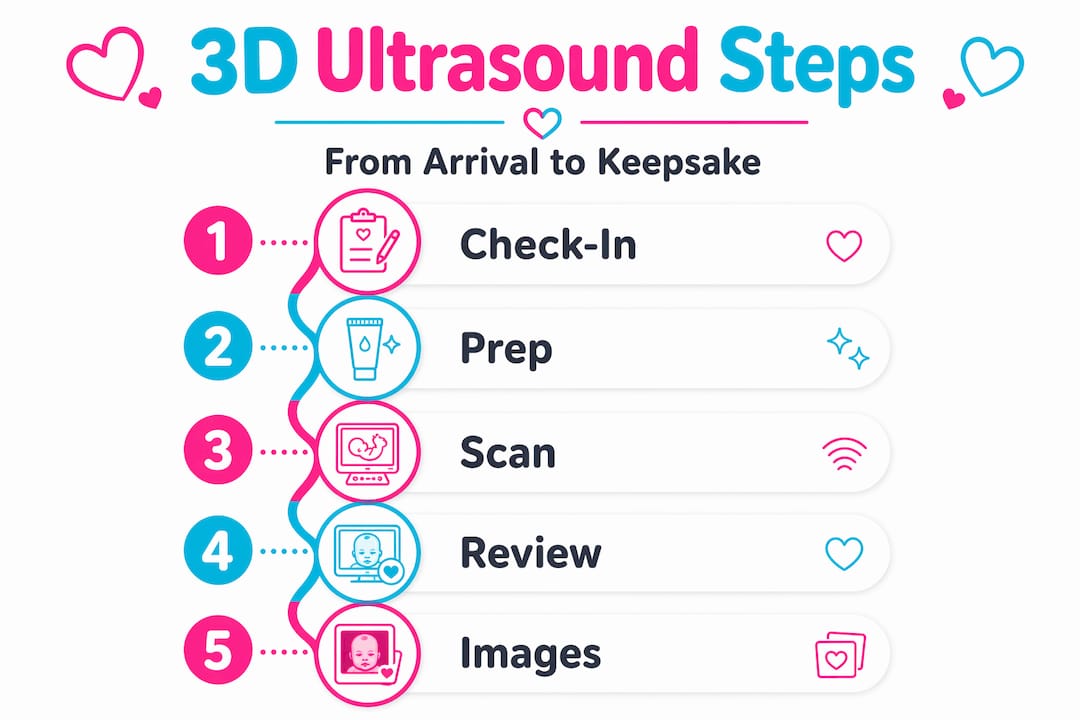
Knowing what happens in the room reduces anxiety and helps you stay relaxed, which actually improves imaging. Tension in your body can cause you to shift positions, which affects scan quality. Here is the full step-by-step ultrasound session from the moment you lie down to when you walk out with your images.
- You settle onto the table. The sonographer positions you on your back or slightly on your side depending on your comfort and baby's position. Comfort is not optional here. It is functional.
- Gel is applied to your abdomen. A water-based, hypoallergenic gel is spread across your belly. It feels cold at first. This gel removes air between the transducer and your skin, allowing sound waves to travel cleanly.
- The transducer starts moving. The sonographer glides a handheld device called a transducer across your abdomen in sweeping motions. Each pass captures multiple 2D slices from different angles.
- Multi-angle sweeps build the 3D image. This is the part most parents do not know about. Skilled technicians perform multi-angle sweeps capturing over 100 individual 2D slices in just 5-10 minutes. A computer then stitches those slices into a single, detailed 3D image. The quality of that final image depends entirely on how many clean slices were captured.
- Brief holds and position requests. The sonographer may ask you to hold still or take a shallow breath briefly. Baby may be asked to move by gently tapping your abdomen or having you shift positions.
- Session wraps up. The 3D ultrasound procedure lasts between 20 and 45 minutes from setup to cleanup. There is no recovery time required. You walk out with your images and can return to your normal day immediately.
- You receive your keepsakes. Photos and digital video clips are packaged for you before you leave, depending on the studio's offerings.
| Session phase | Approximate time | What happens |
|---|---|---|
| Setup and positioning | 5 minutes | Patient positioned, gel applied |
| Active scanning | 15-30 minutes | Transducer sweeps, image capture |
| Baby repositioning (if needed) | 5-10 minutes | Waiting or shifting position |
| Cleanup and keepsake packaging | 5 minutes | Gel removed, images prepared |
You can read more about the premium ultrasound bonding features available at specialized studios to understand what separates a basic session from an exceptional one.
Pro Tip: Do not hesitate to ask your sonographer to try a different angle or wait a moment if the baby is not in a good position. Experienced sonographers expect this. Silence in a 3D session often means missed opportunities.
After knowing the procedure, let's look at factors affecting image quality and how to get the best possible results.
Factors affecting 3D ultrasound image quality and tips to optimize your scan
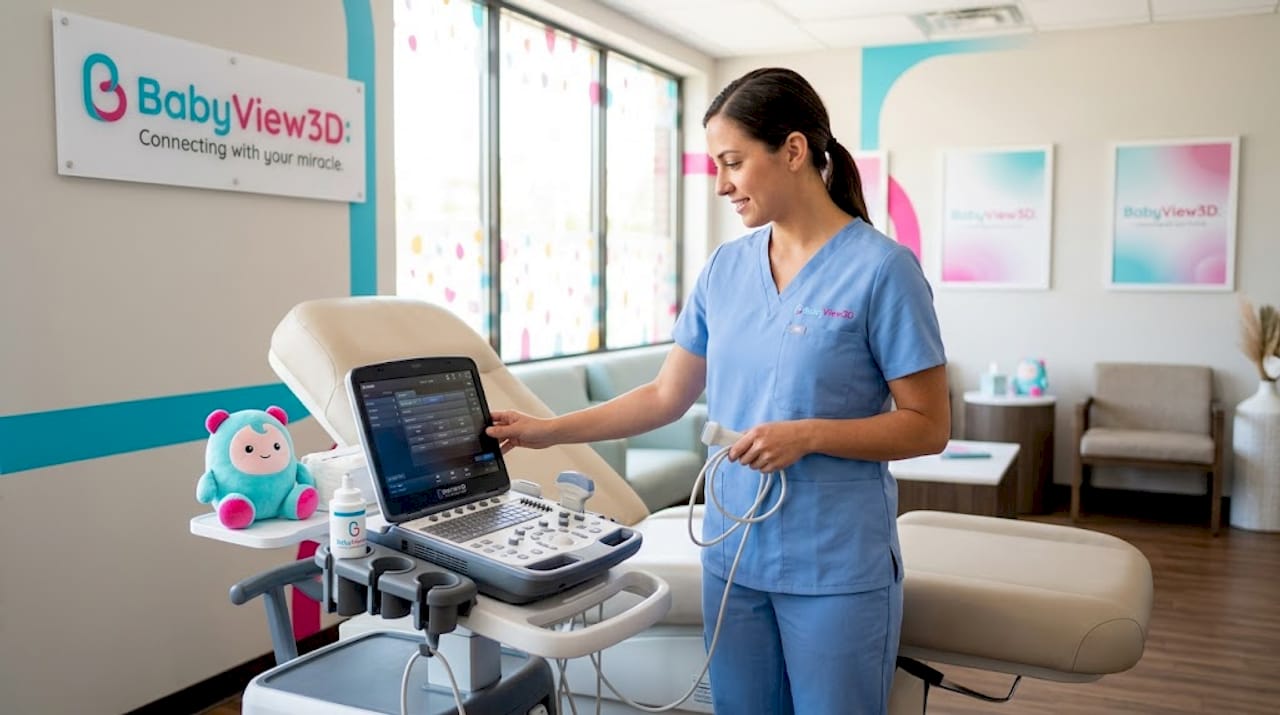
Understanding this part of the 3D imaging process separates parents who get stunning images from those who leave disappointed. Image quality is not entirely in your control, but knowing what influences it means you can work with your sonographer instead of against the process.
- Baby's position is the biggest wildcard. If the baby is face-down or pressing against the placenta, you will not see clear facial features no matter how good the equipment is. According to prenatal imaging expert Erika Lambright, technicians may need to wait 10-20 minutes for the baby to reposition naturally. Patience here is not passive. It is strategic.
- Anterior placenta creates a literal wall. When the placenta sits at the front of your uterus, sound waves must pass through it to reach the baby. This softens the image. Your sonographer can adjust angles to work around it, but results may still differ from what you hoped for.
- Amniotic fluid acts as a natural lens. More fluid surrounding the baby's face means cleaner, sharper images. Staying well hydrated before your session supports fluid levels over time.
- Maternal body composition matters. Sound waves travel differently through varying tissue densities. This is not something to stress about. It is simply worth knowing so expectations stay realistic.
"3D ultrasounds enhance parental bonding by providing lifelike facial images but are elective in nature. The American College of Obstetricians and Gynecologists recommends them mainly for specific medical needs, not as routine prenatal care."
Explore the different 3D ultrasound packages explained to find an option that fits your timeline and imaging goals.
Pro Tip: If your session is not producing clear images due to baby's position, ask your sonographer for a reschedule credit or a repositioning break. Many quality studios offer this. Do not accept a poor result as final when the only issue is timing.
Understanding how factors influence quality helps prepare for common issues, which we cover next.
Common mistakes and troubleshooting during a 3D ultrasound session
Most session problems are preventable. Here are the mistakes parents make most often and what to do instead.
- Skipping hydration. Not drinking enough water before the scan, particularly in the early second trimester, leaves your bladder too empty for optimal visualization. This is one of the most common and easily avoided errors in ultrasound preparation steps.
- Applying lotion or oil to the belly that morning. Even light moisturizer applied hours before your session can reduce image quality. Wash your abdomen with soap and water the morning of your appointment.
- Wearing the wrong outfit. Tight one-piece clothing slows everything down and creates stress during the session. Comfort in your clothes means comfort on the table.
- Arriving late. A rushed session means fewer sweeps, less time waiting for repositioning, and lower-quality images. Arriving late is one of the most direct ways to undermine your own results.
- Expecting a medical diagnosis from an elective keepsake scan. Elective 3D sessions are designed for bonding and memory making, not clinical anatomy reviews. Understanding that distinction protects your expectations.
- Not requesting multi-angle sweeps. Some studios skip this step due to time or habit. Asking your technician to use multiple angles actively improves what you walk away with.
Pro Tip: Before your appointment, call ahead and confirm the studio uses multi-angle scanning techniques. Studios that use them openly are the ones prioritizing image quality over session volume.
With common pitfalls in mind, let's look at what you can expect to receive after your 3D ultrasound session.
What results to expect and how to use your 3D ultrasound images
You have done the preparation, navigated the session, and now you are walking out with something genuinely remarkable. Here is what that actually looks like.
- Printed photos of your baby's face. These are tangible, shareable, frameable. Many parents put them in a nursery or send them to family members who could not be there. As Cleveland Clinic experts note, these lifelike 3D images provide an emotional bonding experience unlike any standard prenatal scan.
- Digital video recordings. Watching your baby yawn, stretch, or touch their face in real time is a different experience from looking at a still image. Studios often provide these as downloadable or shareable files.
- Keepsake packages. Many studios offer frames, digital albums, or memory products. These turn a scan into a full experience rather than a clinical appointment.
- For medically indicated scans, radiologist reports go to your doctor. Harvard Health notes that printed photos and recorded videos are standard outputs, and official radiologist reports for medical scans are typically sent to your provider within 24 to 48 hours.
Elective 3D sessions supplement your routine medical care. They are not replacements. Think of them as a bonus chapter in your pregnancy story, one that your family can hold onto long after the birth. Learn more about using 3D ultrasound images creatively and emotionally to get the most from what you receive.
Why timing and patience are the keys to a meaningful 3D ultrasound experience
After years in prenatal imaging, the single most common source of disappointment we see has nothing to do with equipment or technician skill. It is timing. Parents book their session at 20 weeks because they are excited, and they get images that are technically correct but emotionally underwhelming because the baby's features have not fully filled in yet.
The best schedule for 3D ultrasounds is between 26 and 32 weeks. At this stage, the baby's face has rounded out, fat is depositing under the skin, and there is still enough amniotic fluid around the baby to act as a clear imaging window. Book too early, and you get a skeletal-looking image. Book too late in the third trimester, and the baby is too large, too compressed, and often pressed directly against the uterine wall with no fluid buffer.
Patience during the session itself is equally underrated. Parents sometimes feel awkward asking to wait five more minutes for the baby to move. They feel like they are wasting the technician's time. They are not. A good sonographer expects repositioning to take time and builds it into the session. The parents who speak up, who ask their technician to wait just a moment longer, are the ones who go home with the images they wanted.
Approach your 3D ultrasound the same way you would approach a great photo shoot. You control the conditions. The subject controls the pose. Planning your timing around that 26-32 week window and going in with realistic expectations about baby's cooperation turns a potentially frustrating session into one of the most memorable experiences of your pregnancy.
Explore BabyView3D's professional 3D ultrasound services for your pregnancy journey
Now that you understand the full process and what separates a good session from a great one, the next step is choosing a studio that brings all of it together. BabyView3D's certified sonographers are trained to use multi-angle scanning techniques, work patiently through repositioning, and guide you through every step so nothing catches you off guard.
BabyView3D's premium 3D ultrasound services are scheduled around the ideal 26-32 week window to maximize image clarity and the emotional impact of your session. You can browse ultrasound keepsake products including photo packages, frames, and digital options designed to turn your images into lasting memories. Before you book, take a look at the 3D ultrasound photo gallery to see real client results and get a sense of what your session could look like. With over 15 years of experience and FDA-approved equipment, BabyView3D is built for parents who want more than a routine appointment.
Frequently asked questions
When is the best time to schedule a 3D ultrasound during pregnancy?
The optimal timing is between 26 and 32 weeks when the baby's facial features are well developed and enough amniotic fluid surrounds the face for clear, detailed imaging.
How should I prepare before my 3D ultrasound appointment?
Drink 4-6 glasses of water about an hour before your scan, wear loose two-piece clothing, and skip any lotion or oil on your abdomen that day to keep your skin clean for optimal sound wave contact.
What happens during a 3D ultrasound procedure?
You lie on a table, the sonographer applies water-based gel to your abdomen, and a transducer captures over 100 2D image slices from multiple angles that a computer compiles into a single lifelike 3D image of your baby.
Are 3D ultrasounds medically necessary?
No. 3D ultrasounds are elective and designed primarily for parental bonding and keepsake purposes. Standard 2D ultrasounds handle routine anatomy assessments unless your provider identifies a specific clinical need.
What do I receive after my 3D ultrasound session?
You typically leave with printed photos and digital video recordings of your baby's 3D images. For medical scans, radiologist reports are sent to your doctor within 24 to 48 hours.